Edge Devices
Main View
The Edge Devices module shows a list of all edge devices that are assigned to the current tenant:
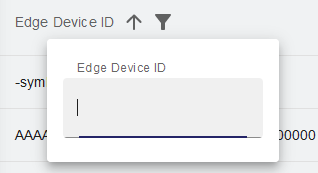
- Edge device ID
- The unique device ID in the platform. Usually a combination of tenant shortname and edge device serial number.
- Operator
- If the edge device is linked to an asset, the respective operator tenant is displayed.
- Service Provider
- if the edge device is linked to a customer machine the respective service provider tenant is displayed.
- Device Type
- Serial Number
- IoT-Hub Status
- Connected Machine
- Address of machine connected to the edge device
- OS Version of the edge device
- Provisioned for
- The tenant, the edge device was provisioned for
List of available edge devices.
| |||
| |||
|
A CSV file will be generated and saved to your downloads folder: | ||
|
The selections will be permanently stored for your user and can be reset to factory setting by clicking . | ||
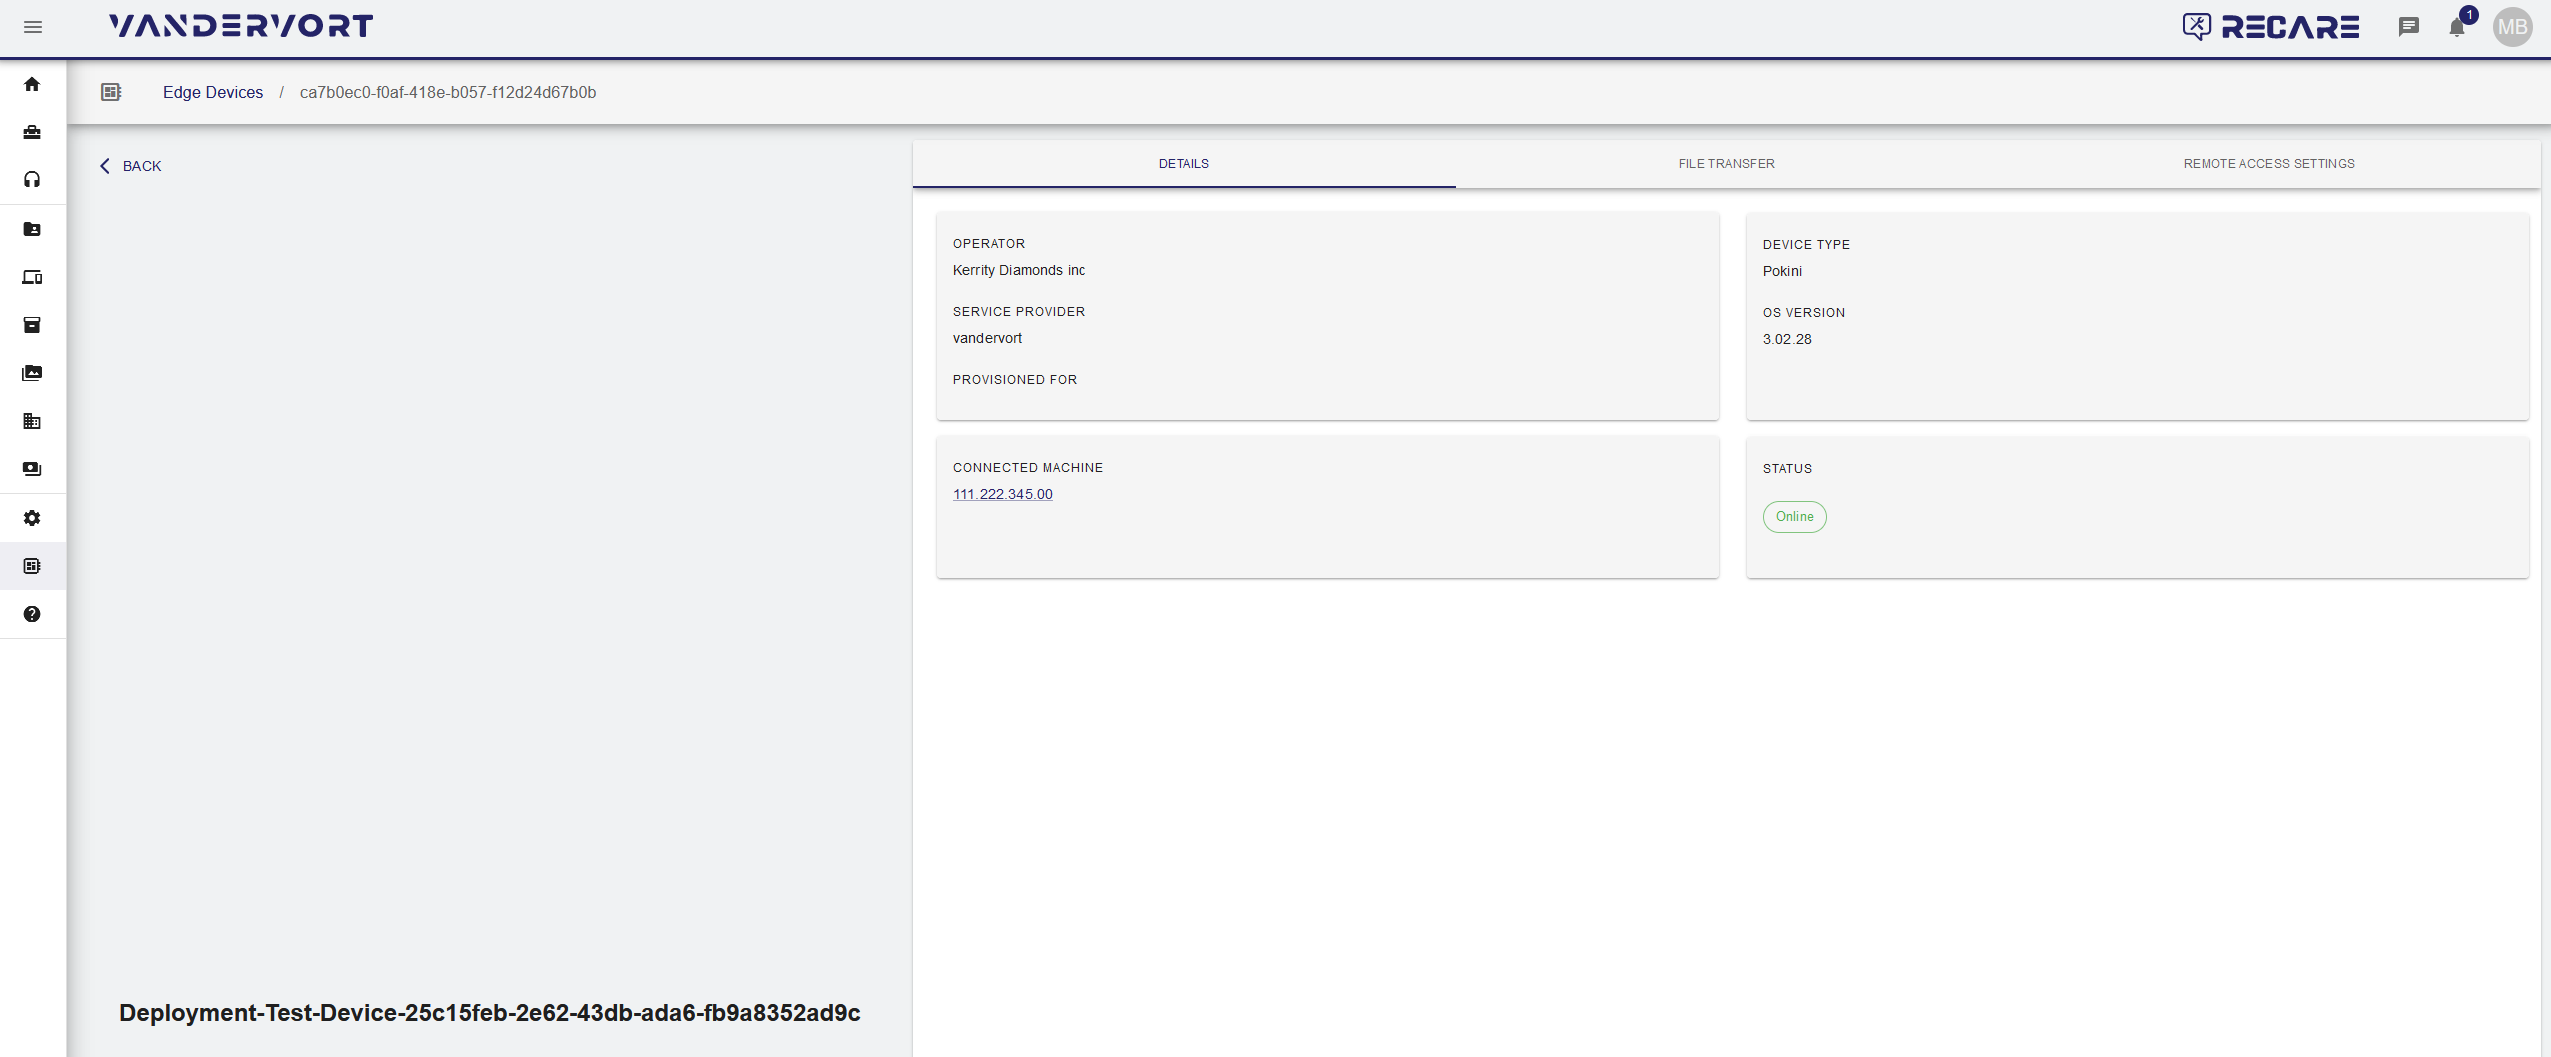
Edge Device Detail View
Click on a row with an edge device to open the edge device detail view:
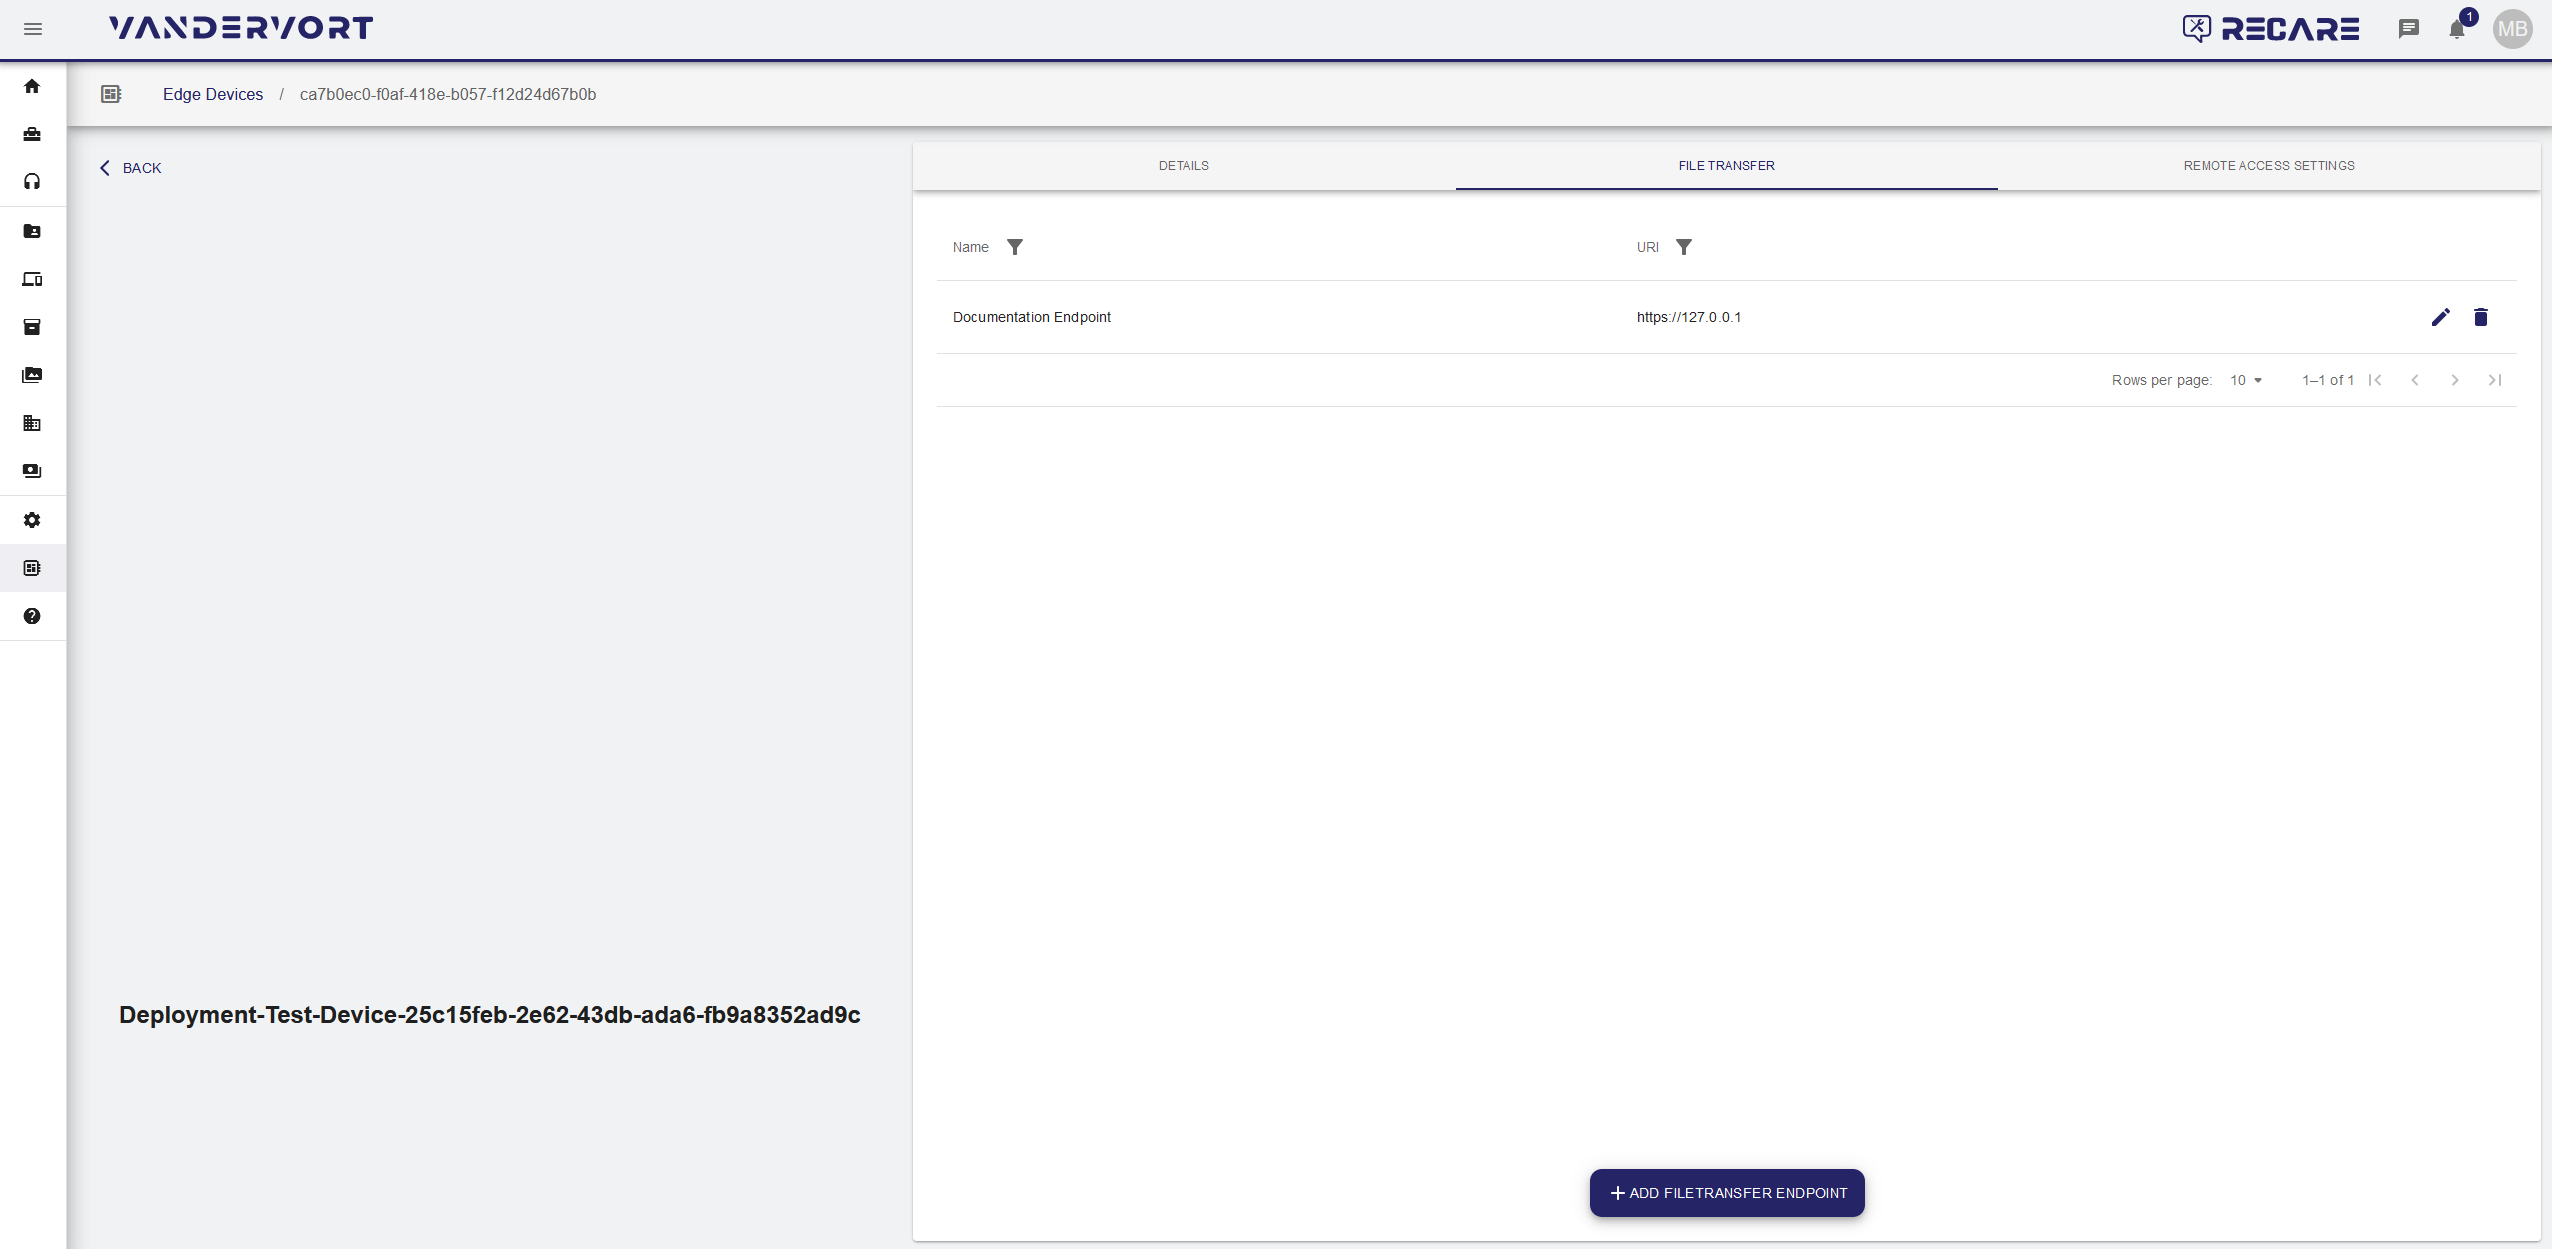
File Transfer
Endpoints for distributing files to the edge device via the symmedia Hub File Transfer can be entered here:
- To create an endpoint on the selected edge device, click . Or, to edit an existing endpoint, click to edit the entry.
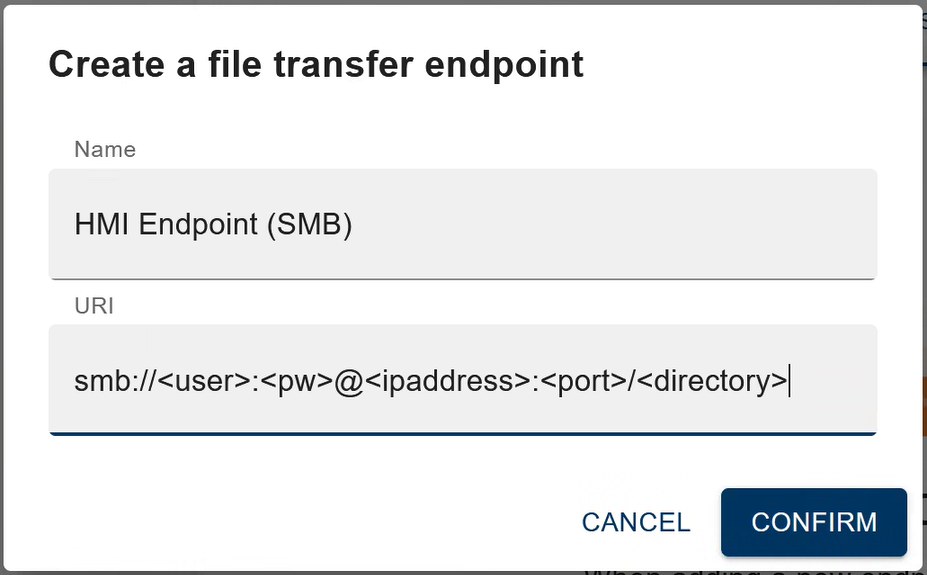
The dialogue for entering the endpoint name and address opens:
- Enter a name for the endpoint.
- Enter an URI for the endpoint. The URI must have a format like in the screenshot above ("smb://<user>:<pw>@<ipaddress>:<port>/<directory>") or an IP address.
- smb: Type of used protocol (currently only SMB supported)
- <user>: User name for the filetransfer endpoint.
- <pw>: Password for the filetransfer endpoint.
- <ipaddress>: IP address for the filetransfer endpoint.
- <port>: Port of the filetransfer endpoint.
- <directory>: Name of the shared directory.
- smb: Type of used protocol (currently only SMB supported)
- Click .
After saving the URI details, the credentials are not visible to the user any more due to security reasons.
Your new File Transfer endpoint was successfully created:
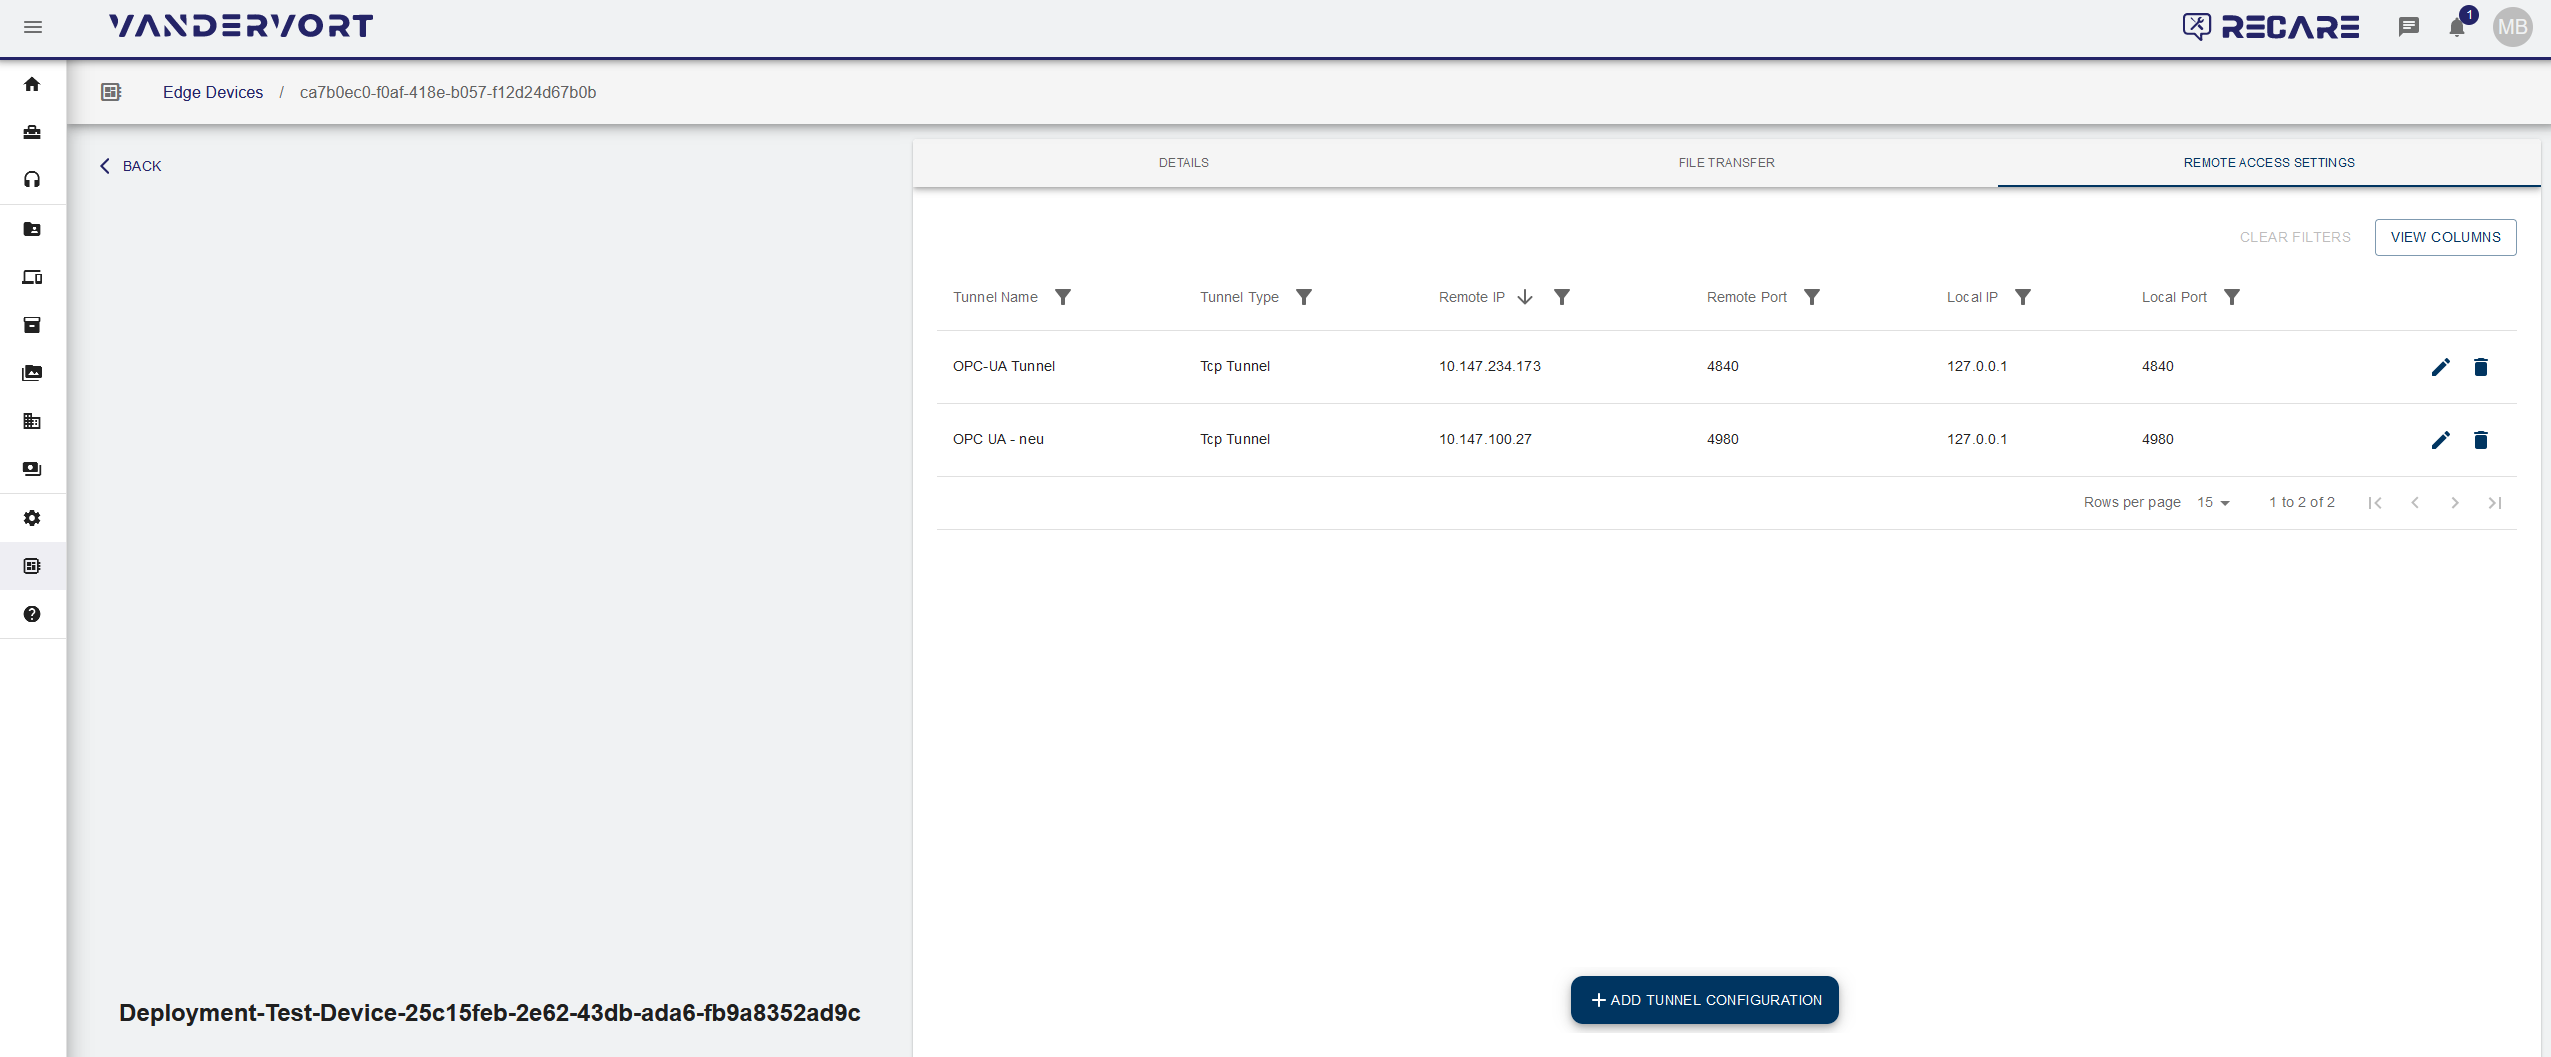
Remote Access
You can add a remote connection to the edge device.
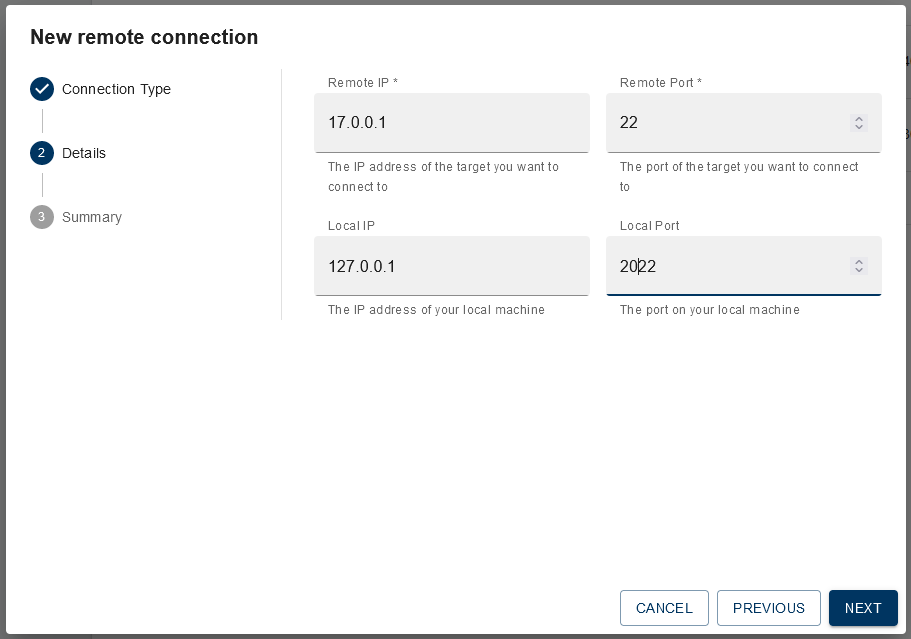
- Add a new remote tunnel connection by clicking or edit an existing entry via .
- Choose a tunnel type (SSH, SSC Data Link or VNC) from the Connection Type dropdown list enter a name for the connection under Tunnel Name (optional) and click on .
- Enter the IP address of your local machine in the field Local IP (optional).
- Enter the port of your local machine in the field Local Port (optional).
- Enter the IP address of the target you want to connect to in the field Remote IP.
- Enter the IP port of the target you want to connect to in the field Remote Port.
- If you want to use a local proxy, enter the proxy IP address in the field Local Proxy Id in the format 10.1.1.0/24.
- Continue by clicking .
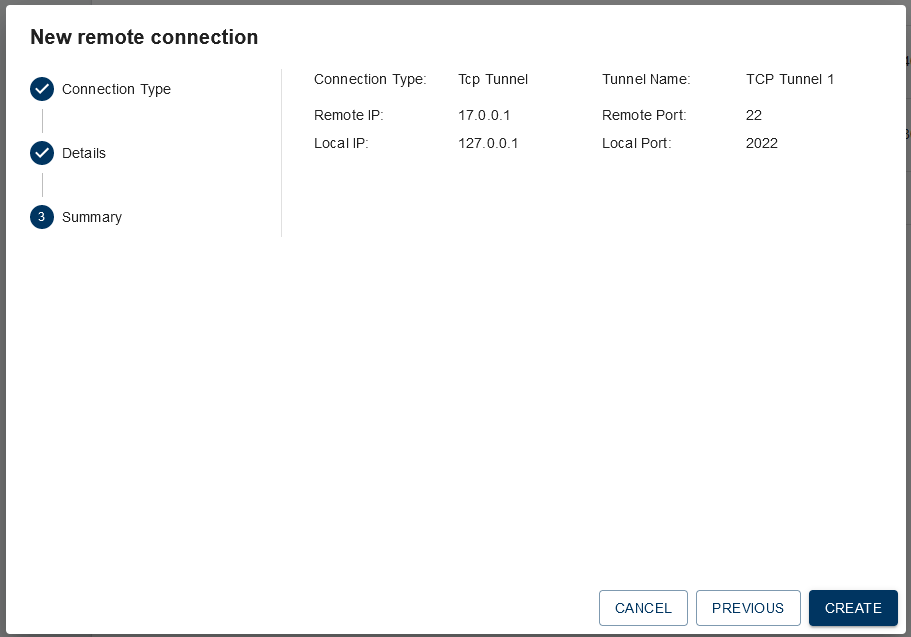
A summary of the entered tunnel properties is displayed:
- If all entries are correct, create the new remote connection via .
Your newly created tunnel connection now appears in the list of tunnel connections:







.png?version=1&modificationDate=1705593624547&cacheVersion=1&api=v2&width=1280&height=699)
