Documents & Media

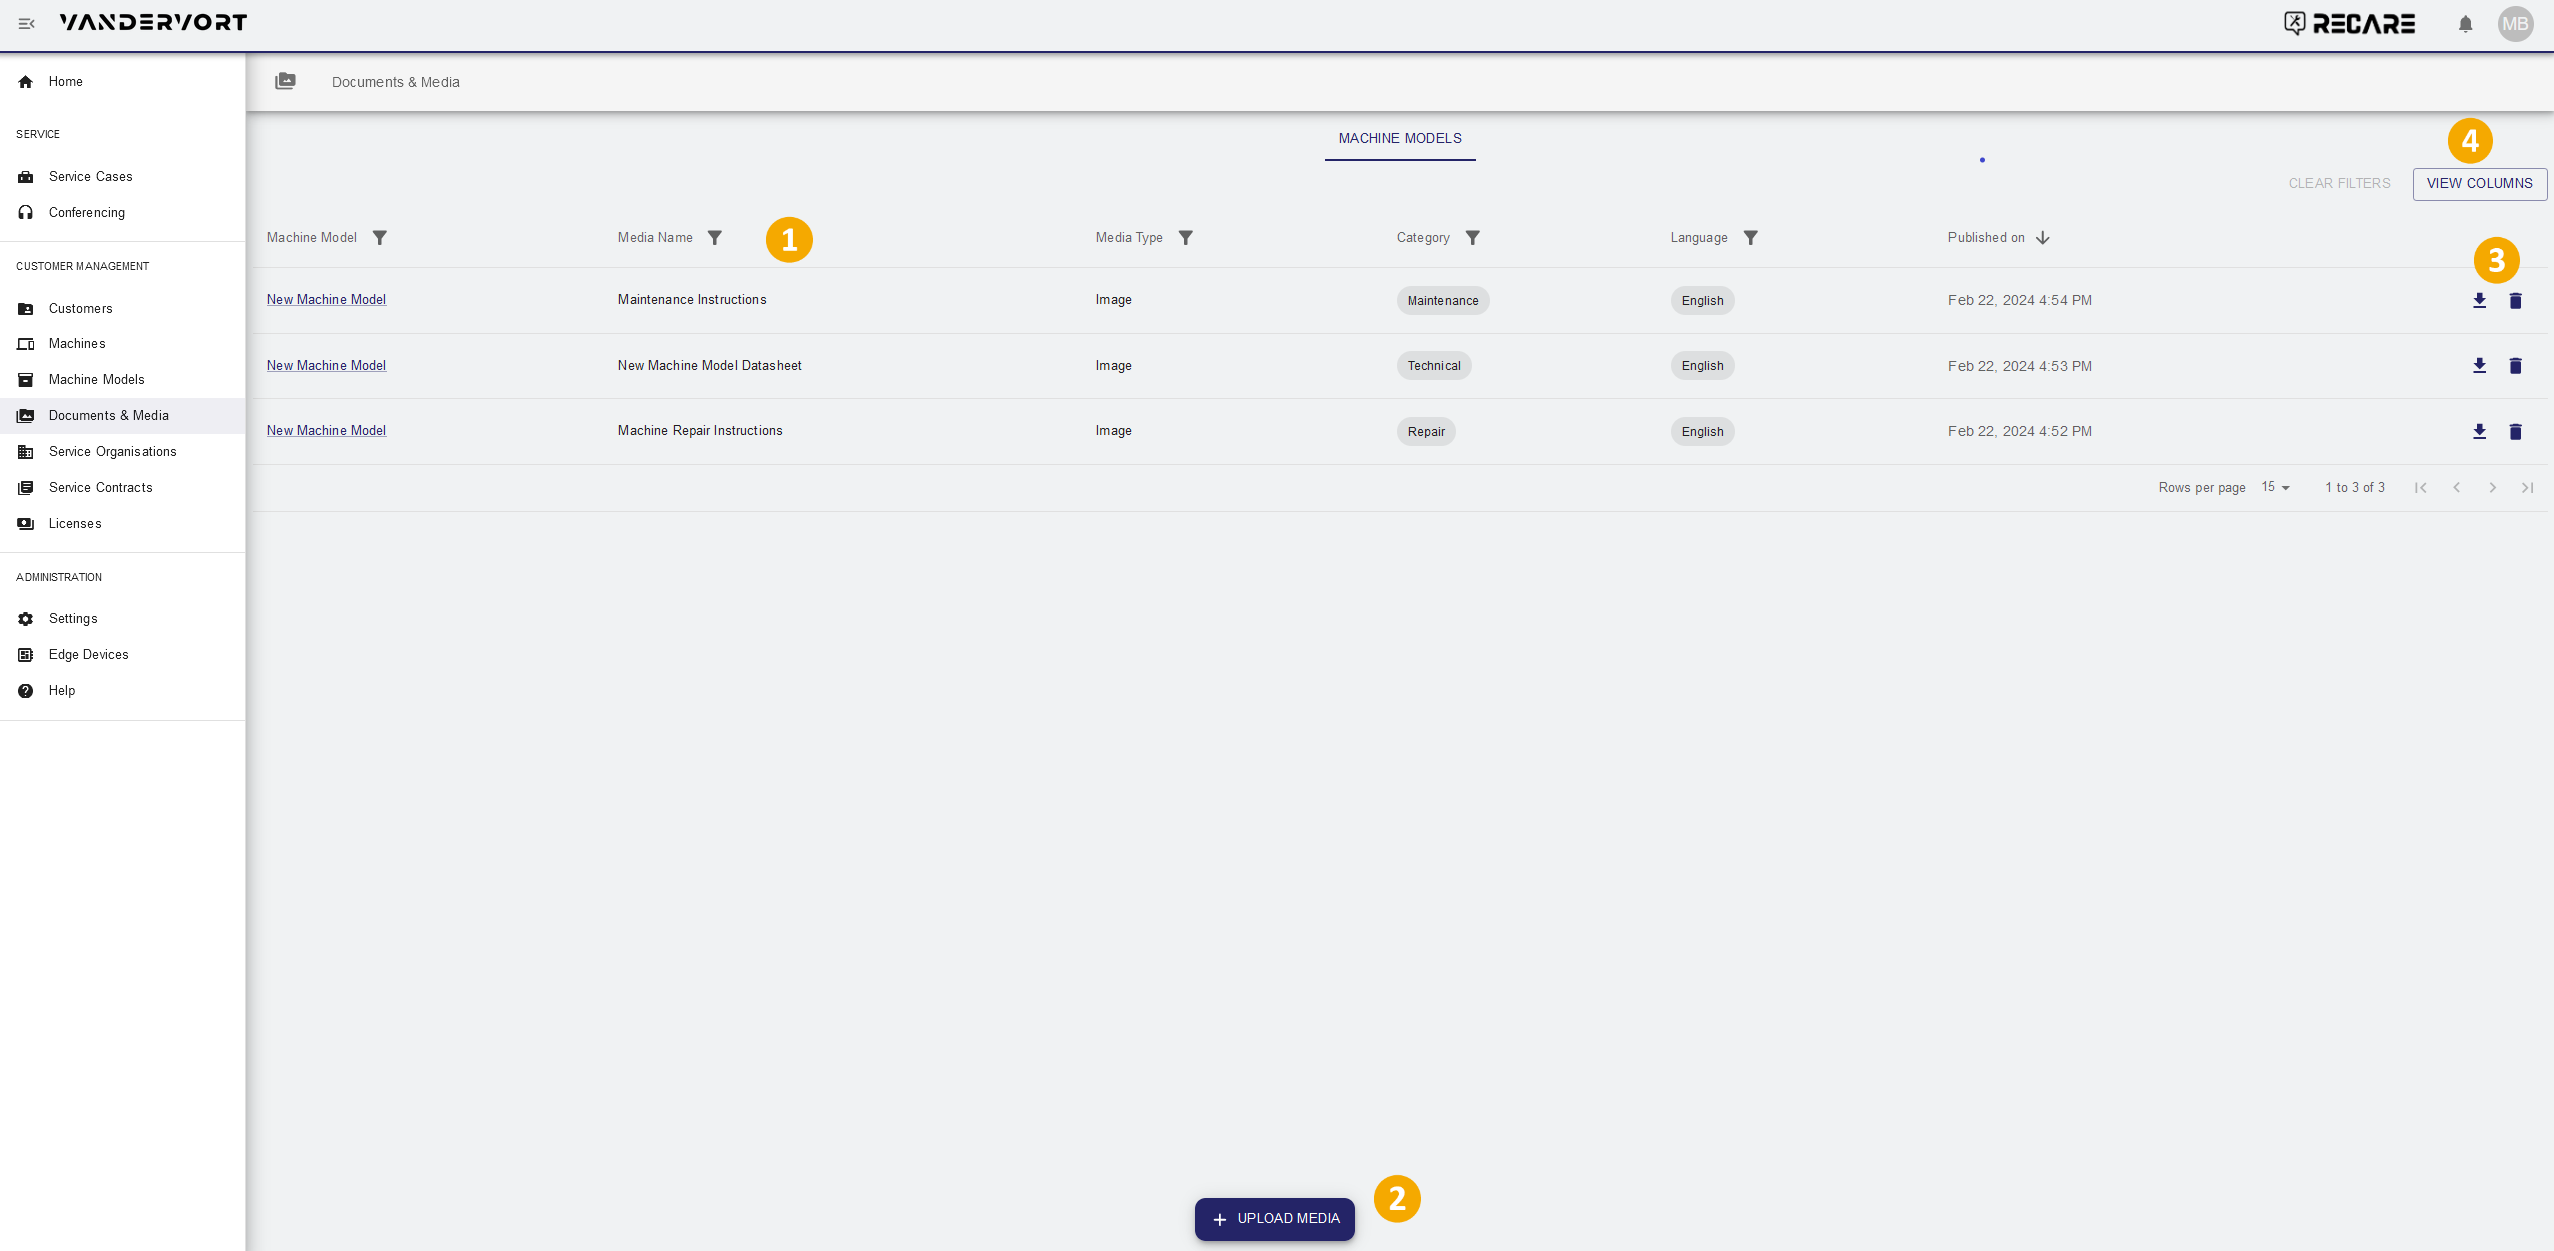
The Documents & Media module is an upload and download center for various types of media for the respective machines.

You can add new media or download existing media from the list.

Admitted document types include:

  • All text, image and video formats (as well as .pdf and .zip)

Exceptions:

Ā List of restricted file types

.7z
.aac
.abw
.arc
.azw
.bin
.bz
.bz2
.cda
.csh
.doc
.docx
.eot
.epub
.gz
.html
.jar
.json
.jsonld
.mpkg
.odp
.ods
.odt
.ogx
.php
.ppt
.pptx
.rar
.rtf
.sh
.svg
.svg+xml
.tar
.vsd
.xhtml
.xls
.xlsx
.xml
.xul

The maximum file size is <=200 MB. Upload of executables is not permitted.


The document / media file is provided for all customers who have a machine with this model along with the following information:

  • Machine model
  • Media name
  • Media type
  • Category
  • Language
  • Publication date


List of available media files.

  • Sort the list by using the buttons in the top row.
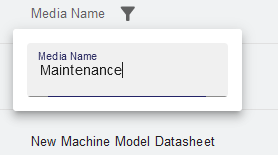
  • Search for a certain term within a respective column using the filter button and typing something into the search field.

ā†’Ā 

Add new media file by clicking the button.


A dialog for uploading new media files opens.

  1. Upload a media file from your device via (mandatory).
  2. Enter a media file name in field Label (optional). If no media name is entered, the file name will be displayed.
  3. Select a machine model from the dropdown list under Machine Model (mandatory).
  4. Select a category from the list under Category (optional).
    Available categories are: diagrams, handbooks, legal, monitoring, maintenance, manual, onboarding, repair, safety, specification, technical and miscellaneous.
  5. Select a media file language from the dropdown list unter Language (optional).
  6. Finish the input by clicking .

A summary of the entered data is now displayed.

If everything is correct:

  • Create the new media entry via.

or

  • Correct your input via .

The newly added media file is now available in the overview.

  • Download media file by clicking theĀ  button in the respective row.
  • Delete an existing entry by clicking theĀ  button in the respective row.


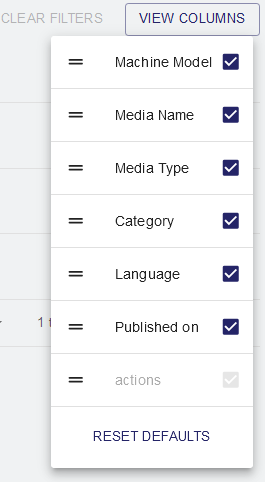
  • Customize the displayed columns by clicking on .
    • Check the entries from the list of columns to be displayed in the overview.
    • Align the sequence of the entries by dragging & dropping the entries in your desired order.

The selections will be permanently stored for your user and can be reset to factory setting by clicking .