Opening a Tunnel Connection using the SSC Client
- Thorsten Boedeker
Before you begin, ensure that a remote access configuration is already set up for the target device.
To initiate a tunnel connection with the SSC Client:
- Log into the symmedia Hub Portal.
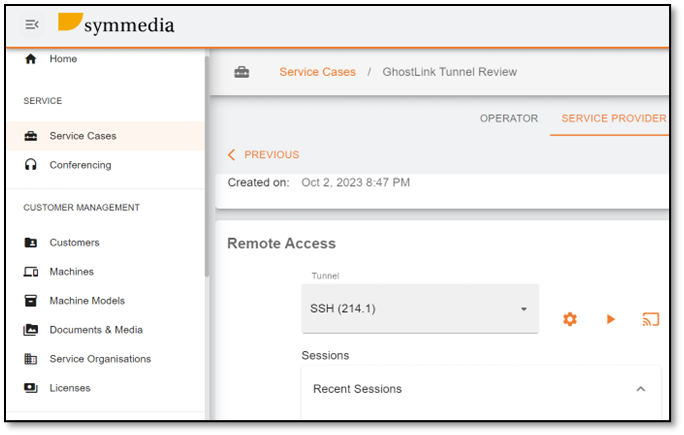
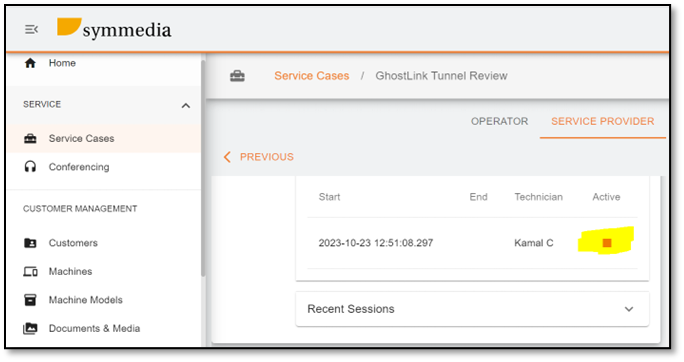
- Navigate to the Service Case you're working with, ensure it has remote access capabilities enabled.
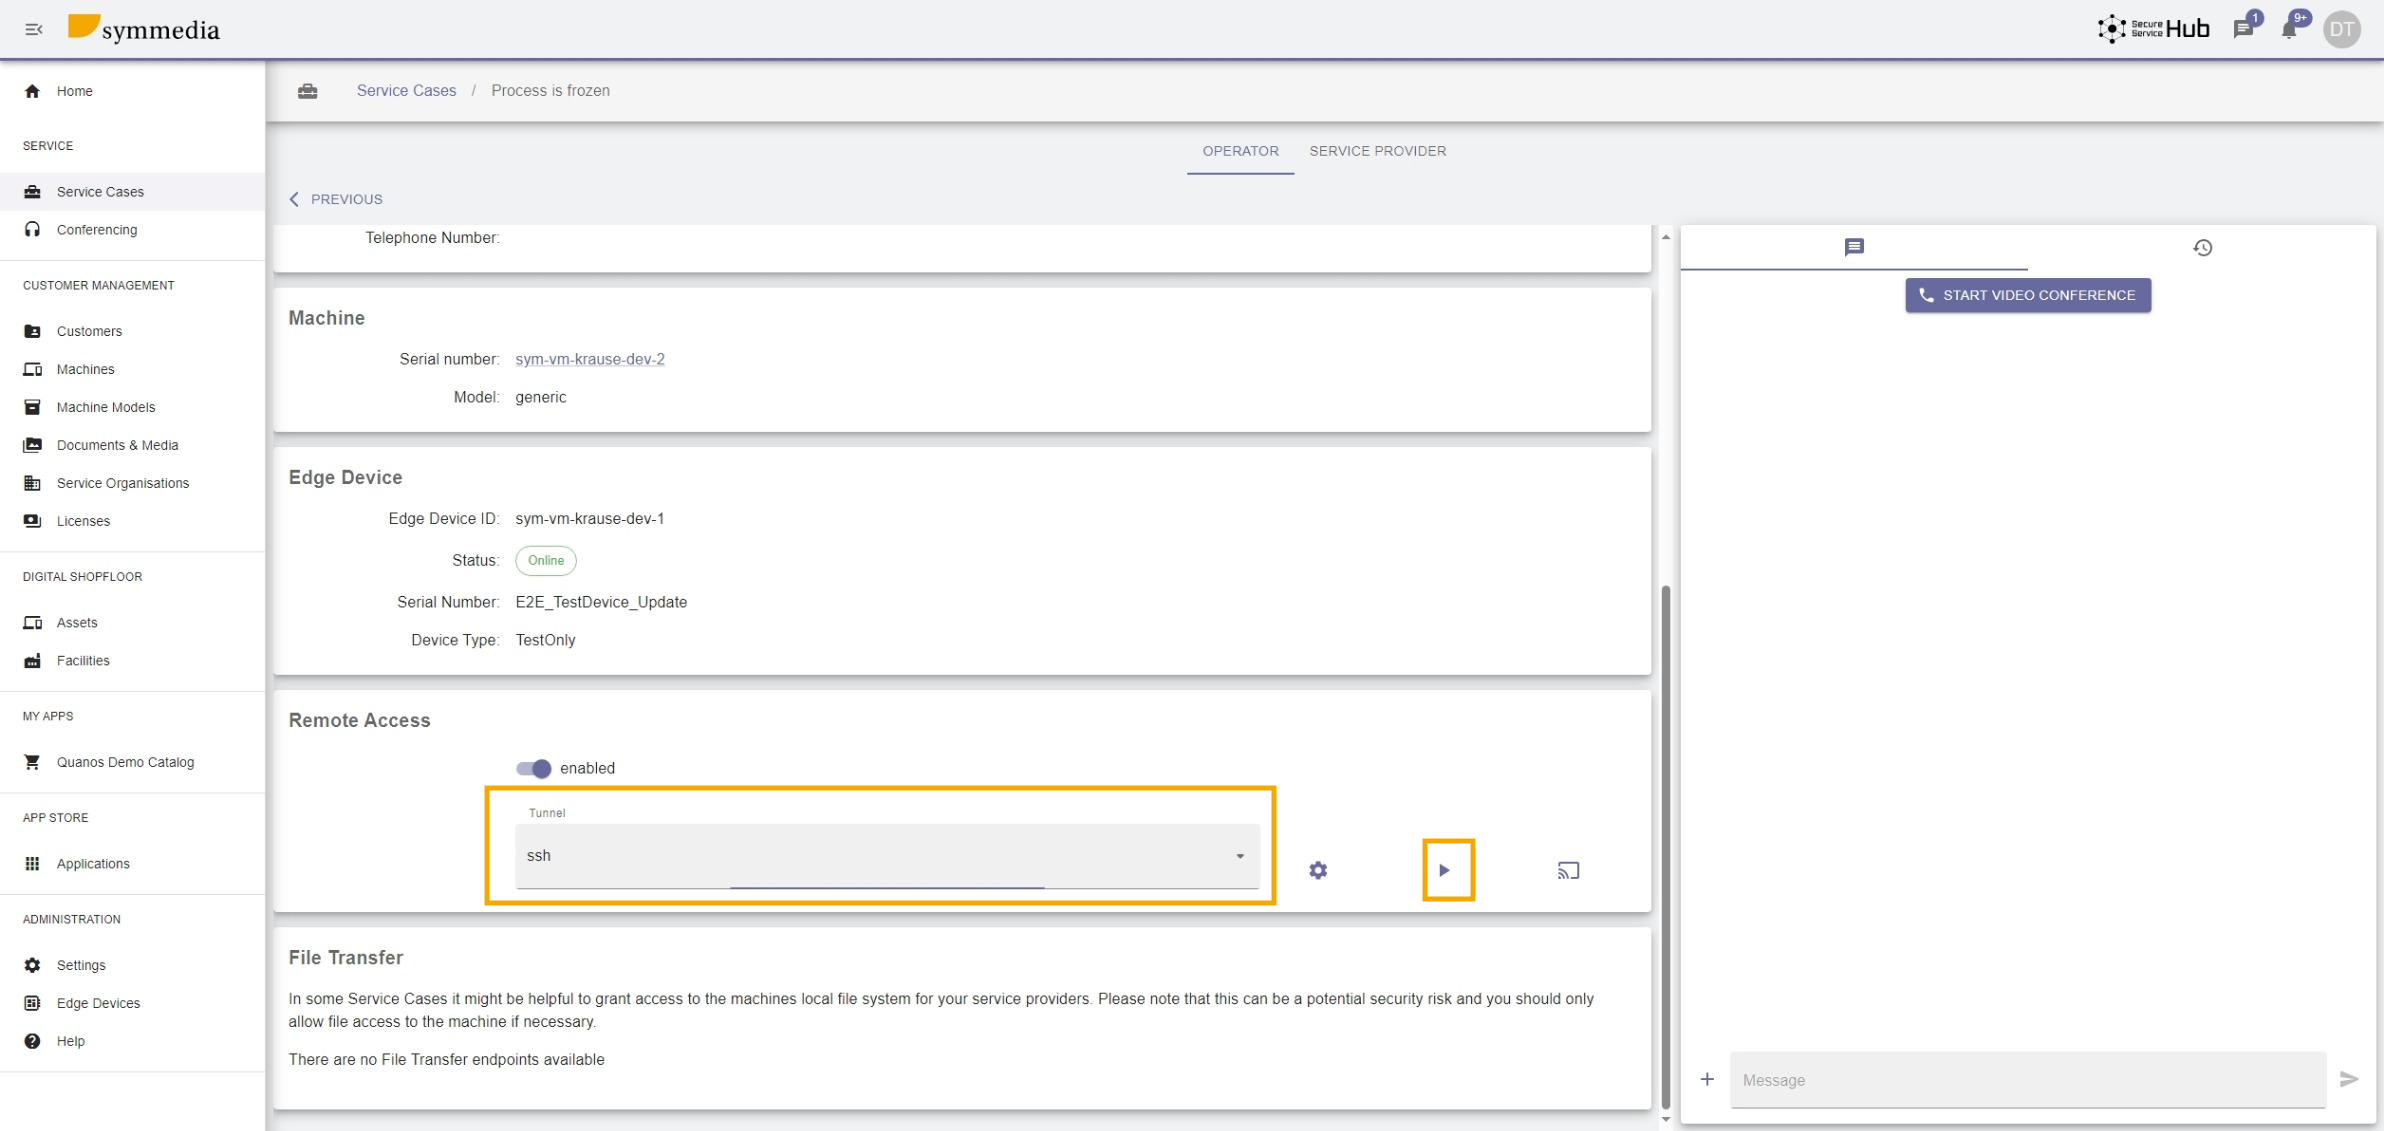
- Within the Service Case details, in the Remote Access section, choose the remote access configuration that you want to use.
- With the configuration selected, click the
 (Start) button to start the tunnel connection.
The SSC client should start automatically (if you have installed the SSC Client with the MSI file, or you have previously started the executable from the ZIP-file with elevated privileges).
If this is not the case, you'll need to manually start the application:
- Locate and run the tunnel-client.exe from the extracted files.
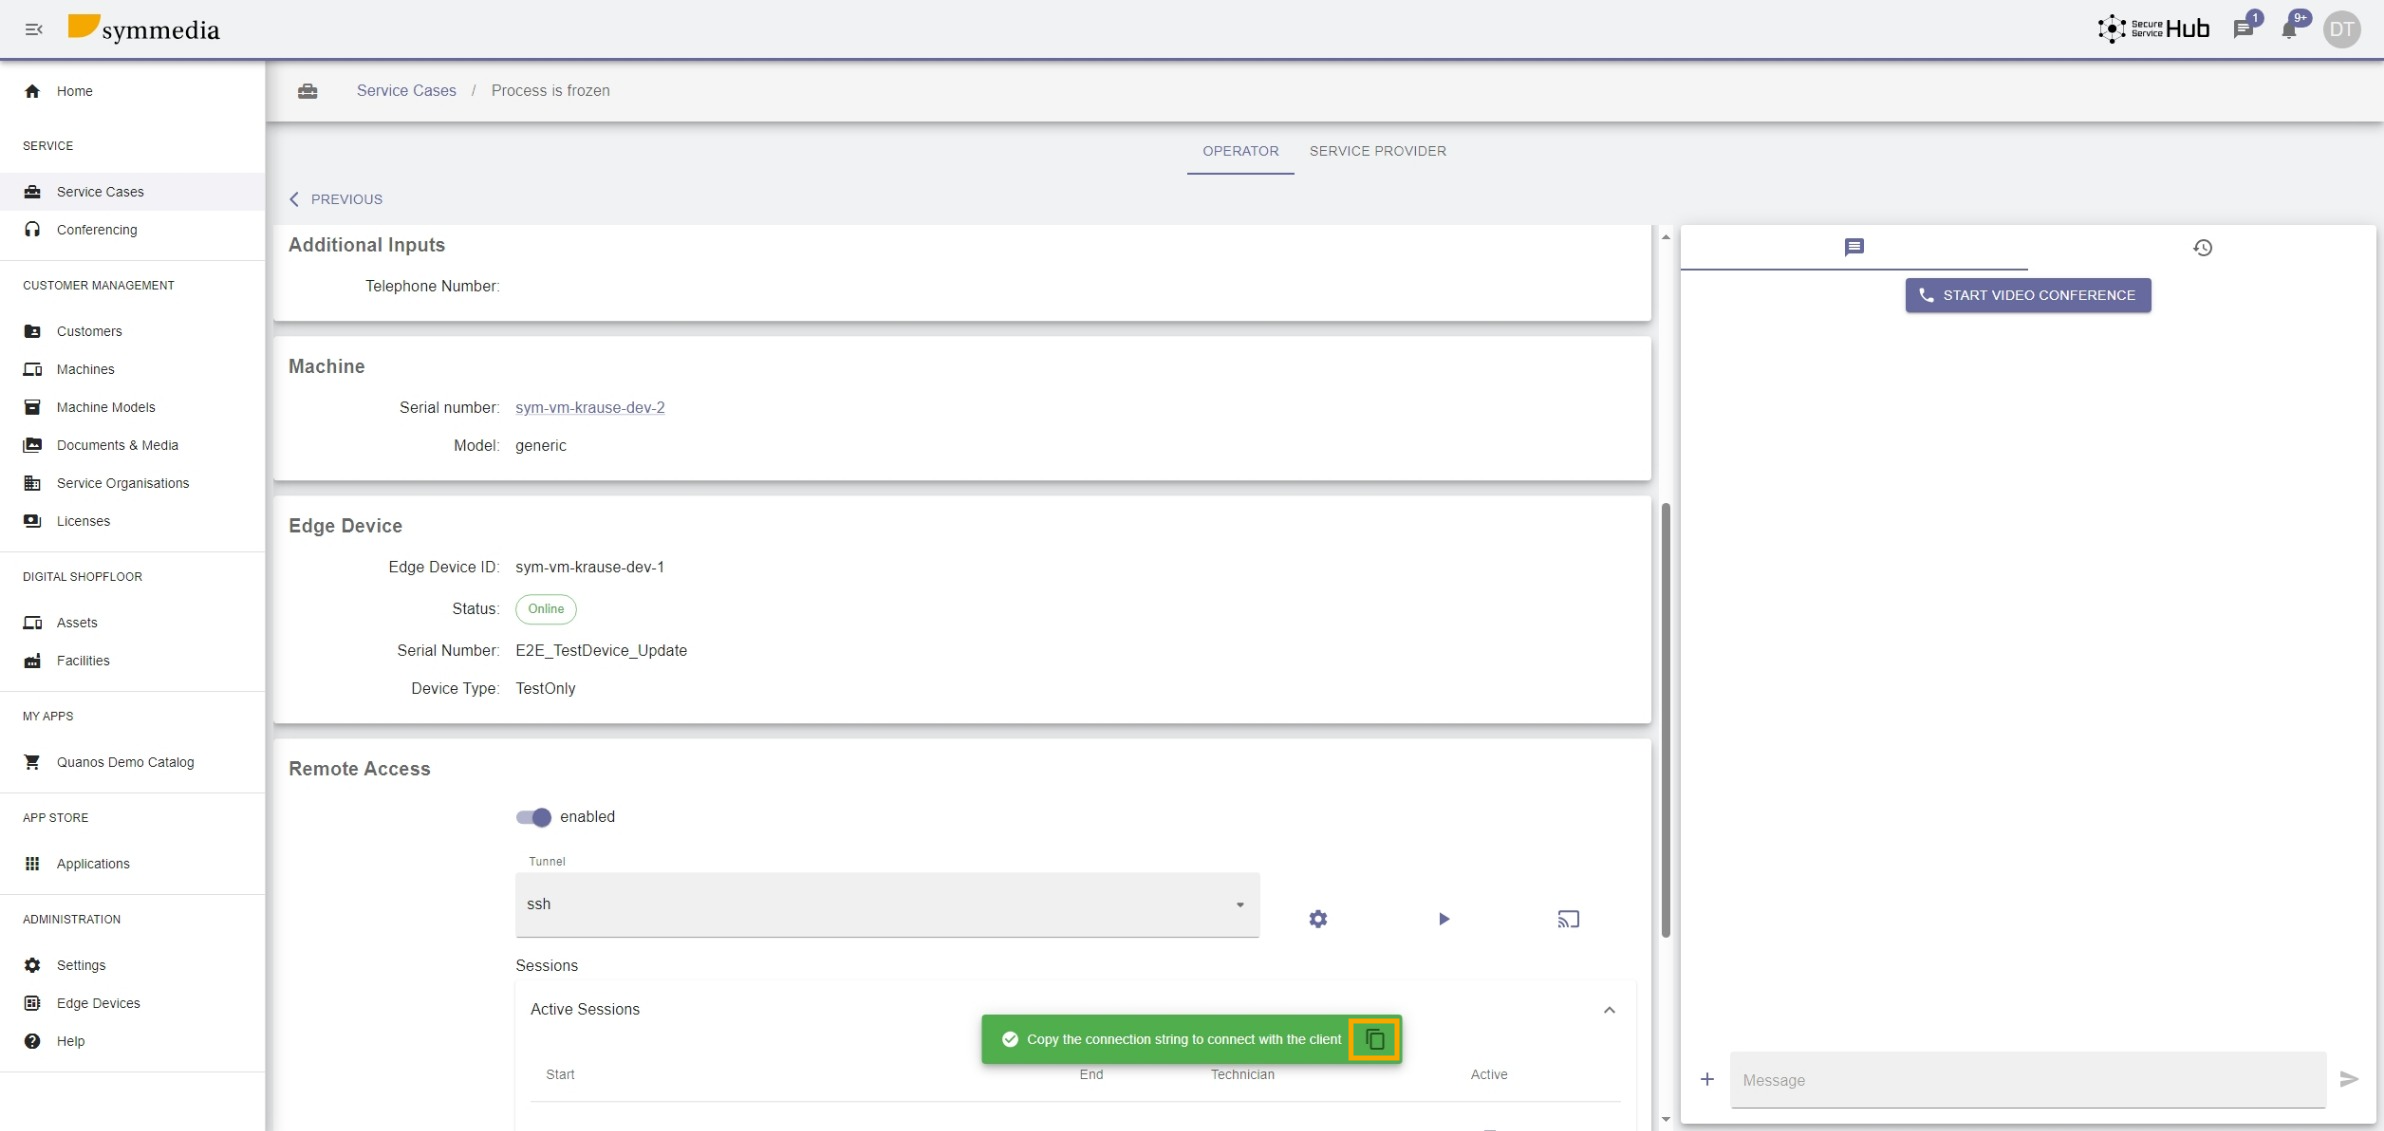
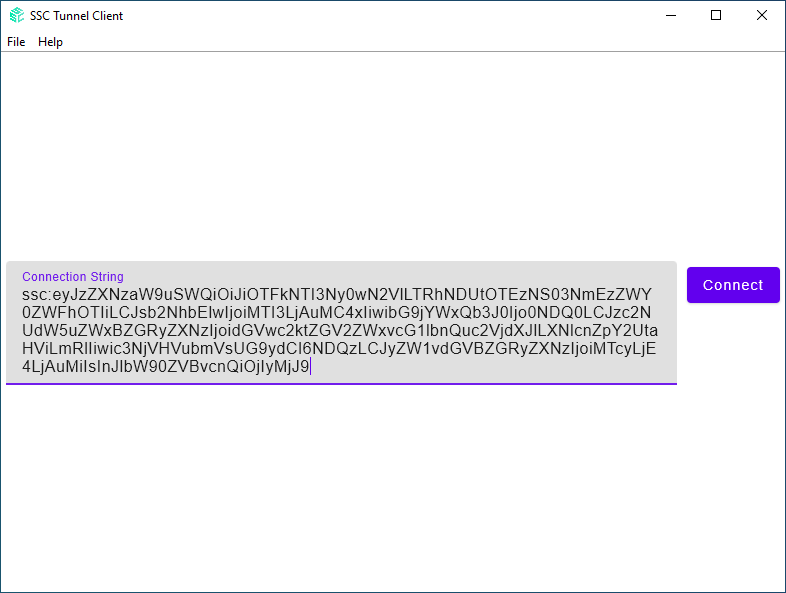
The application will prompt you for a connection string. You can find this string in the symmedia Hub Portal.
- Copy it and paste it into the application, then click Connect.
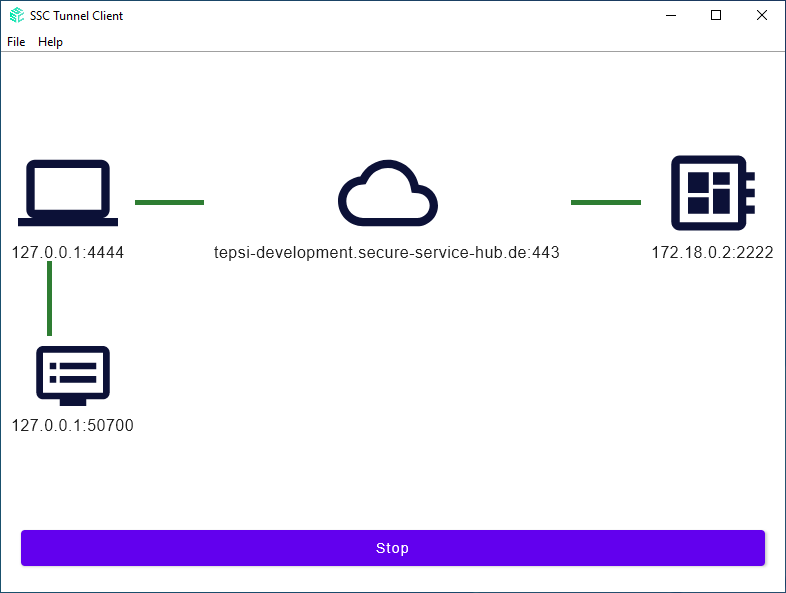
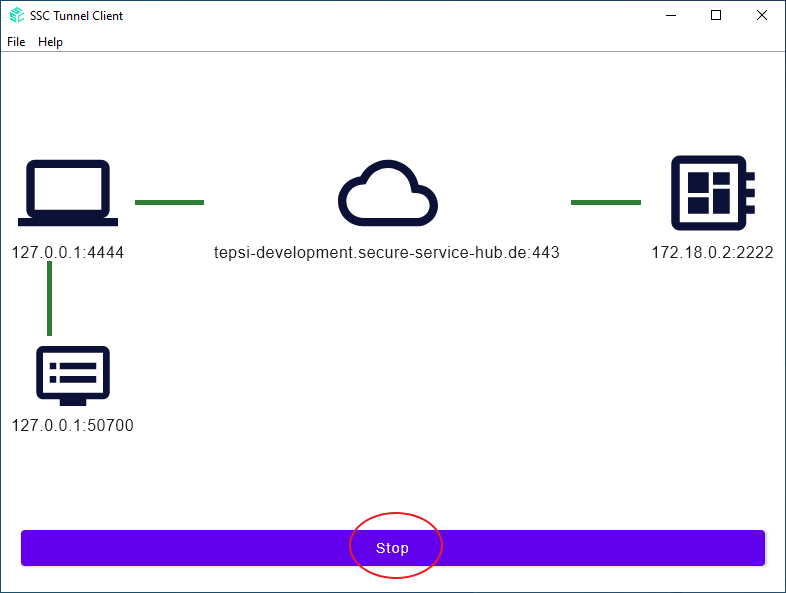
Once the application is running, you'll see a user interface consisting of four nodes, each representing a component in the tunnel connection:
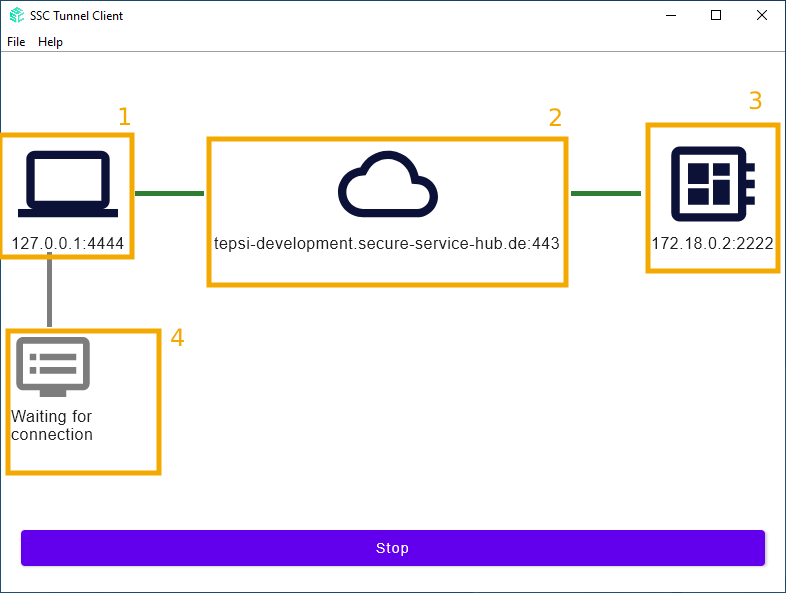
Tunnel Client: This is your local client application.
Cloud: Represents the backend services running in the cloud.
Target Device: The device you are establishing a connection to.
Application: The external application that will use the tunnel connection.
When the tunnel connection is properly initialized, the following indicators will confirm a successful connection:
A green line between the tunnel client and the cloud, signifying that the client is connected to the backend.
A green line between the cloud and the target device, indicating that the target device has connected to the cloud.
Below the Application icon, you will see a text that reads "Waiting for connection".
At this point, you are ready to launch the external application that will use the tunnel connection.
- Configure this application to use the port displayed below the tunnel client icon in the SSC client user interface.
By following these steps, you should now have established a secure tunnel connection, allowing for communication between your external application and the target device via the SSC client.
Connect to the SSC Tunnel Client with an application using symmedia Hub
Pre-Requisites
Download and install the SSC Tunnel Client.msi installer package in your windows machine by following the steps by step procedures mentioned here.
Download and install PuTTY (free SSH and telnet client for Windows).
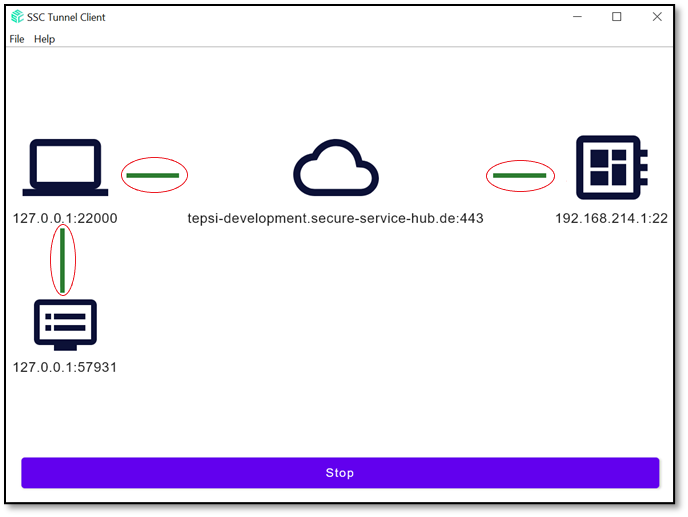
Find the IP address details (127.0.0.1) and Port number (22000) given in the SSC Tunnel Client to connect to the machine.
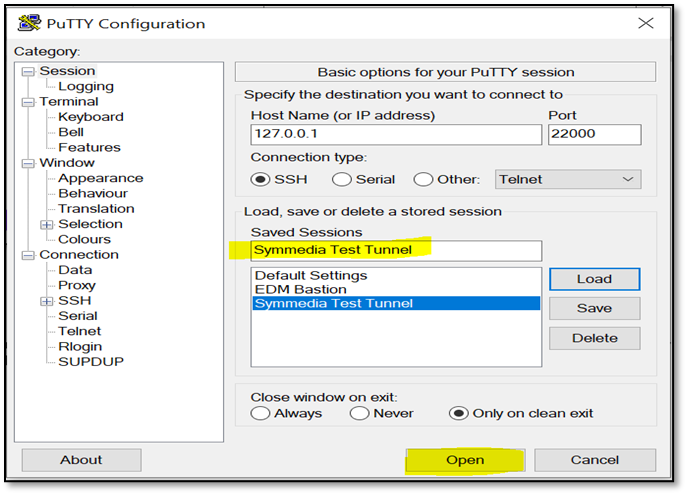
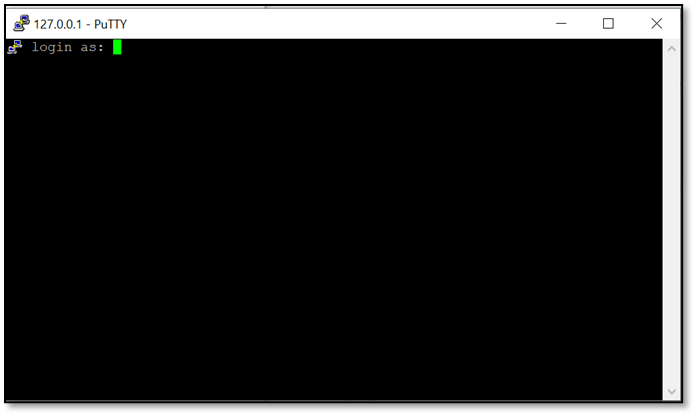
Login to PuTTY from your local machine to establish the connection the Secure Shell server.
Use Host name (or IP address): 127.0.0.1 and Port: 22000 to connect to the machine, confirm with Open:
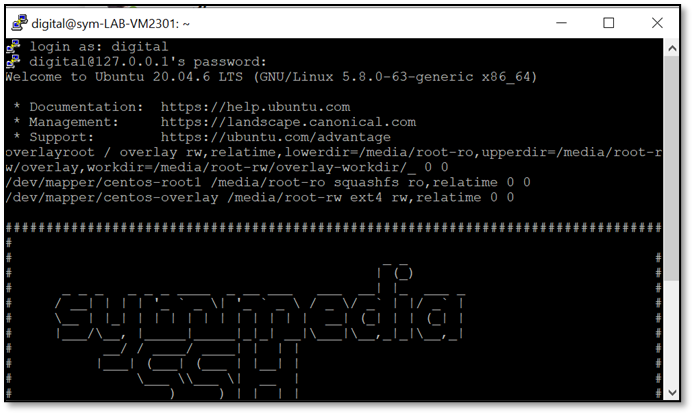
Login to PuTTY with your username and password:
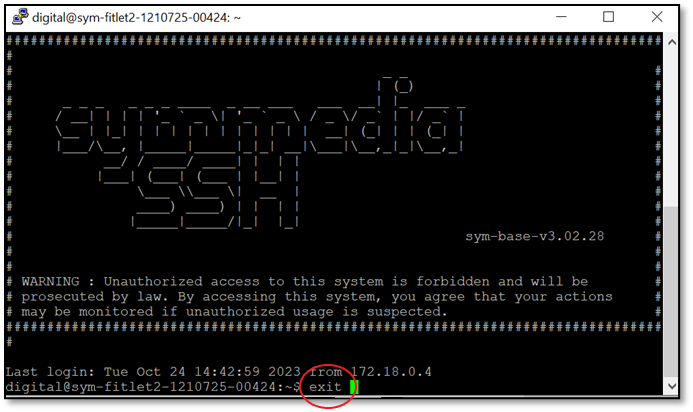
Successfully logged into the Secure Shell server via PuTTY:
Type Exit command and click Enter to close the PuTTY session:
Click STOP to close the connection:
Terminate the SSC Tunnel connection by clicking the Active sessions button:
Now the session is stopped and terminated: