/
SSC Client Installation
SSC Client Installation
- Thorsten Boedeker
Owned by Thorsten Boedeker
Dec 05, 2023
Analytics
Loading data...
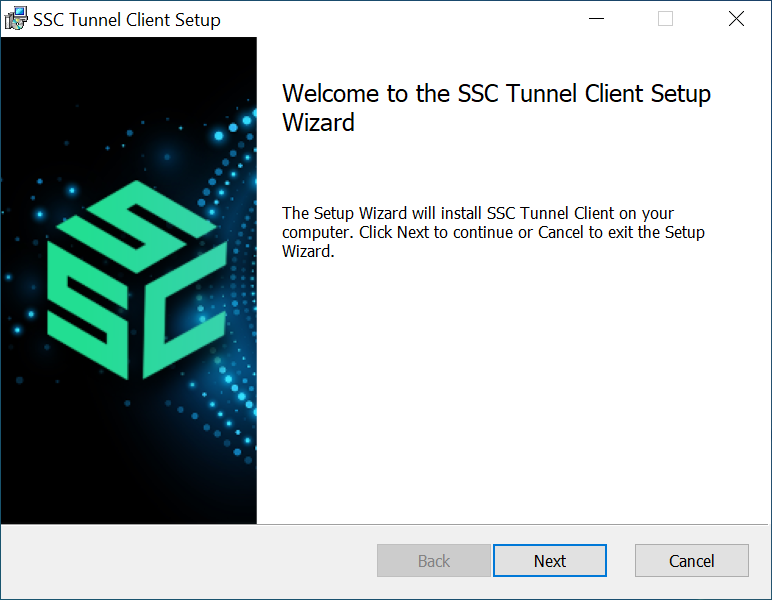
Installation from MSI File
- Double click the downloaded file to start the installation process.
The installer will guide you through the necessary steps:
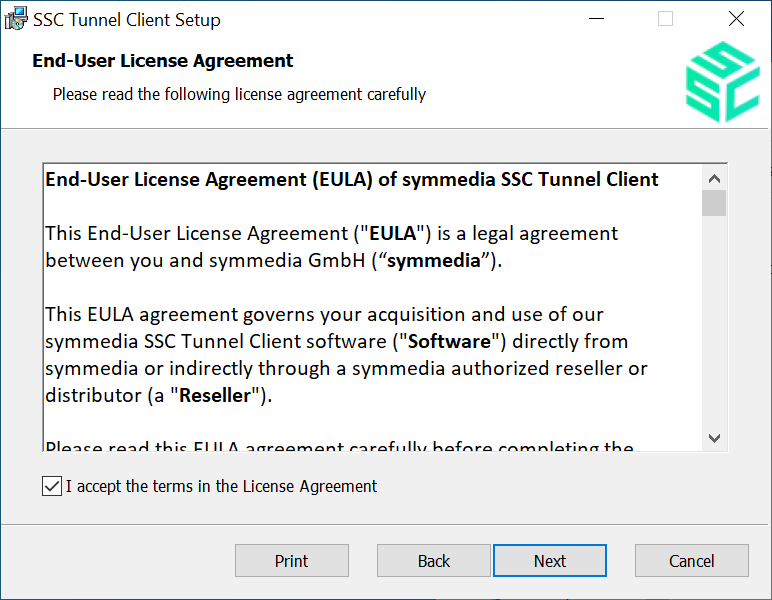
You will be prompted to agree to the End User License Agreement (EULA).
- Please read through the terms carefully and accept them to proceed with the installation.
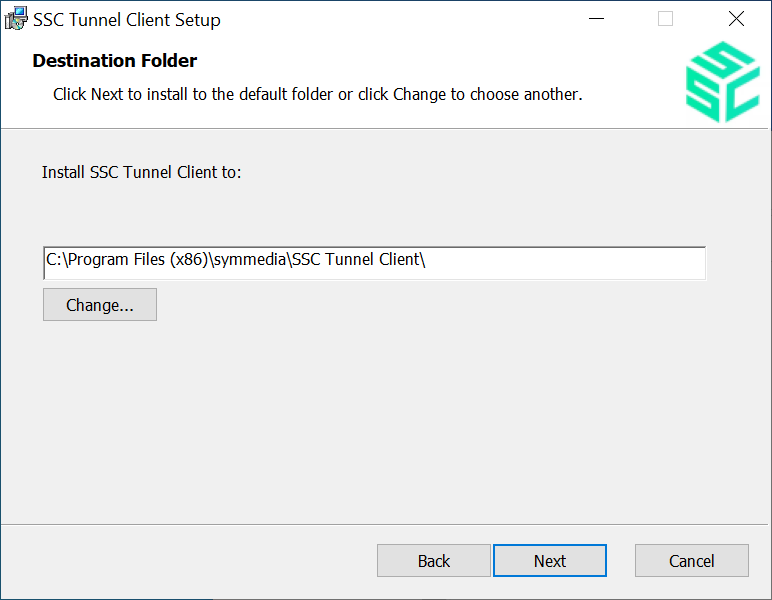
You now have the option to change the installation path.
- Proceed with the default directory or choose a new path.
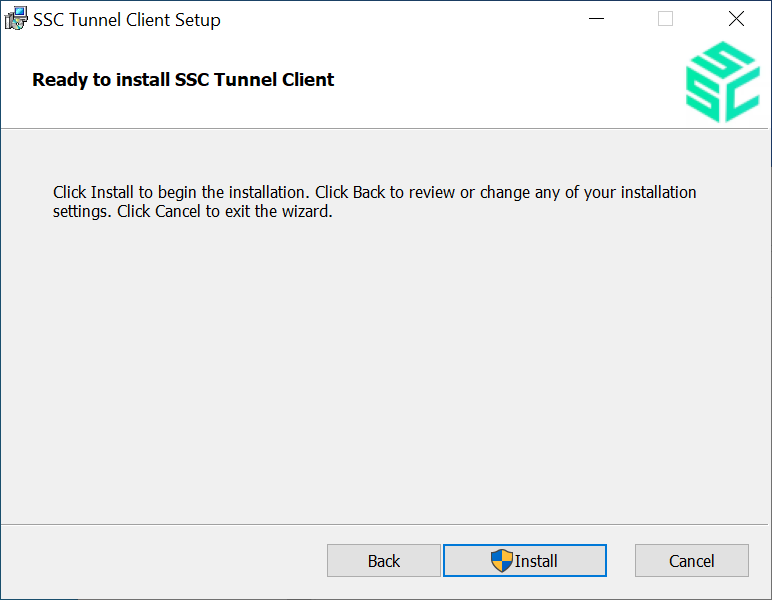
- Click
 to complete the installation.
The installer notifies you about the successful installation of the SSC client.
Installation from ZIP File
- Navigate to the downloaded ZIP file on your computer.
- Right-click on the file and select Extract All... or use your preferred archive manager to extract the files.
- Choose a destination where you want the extracted files to be placed and confirm the action.
- Within the extracted files, find an executable named tunnel-client.exe. This is the application you'll need to start.
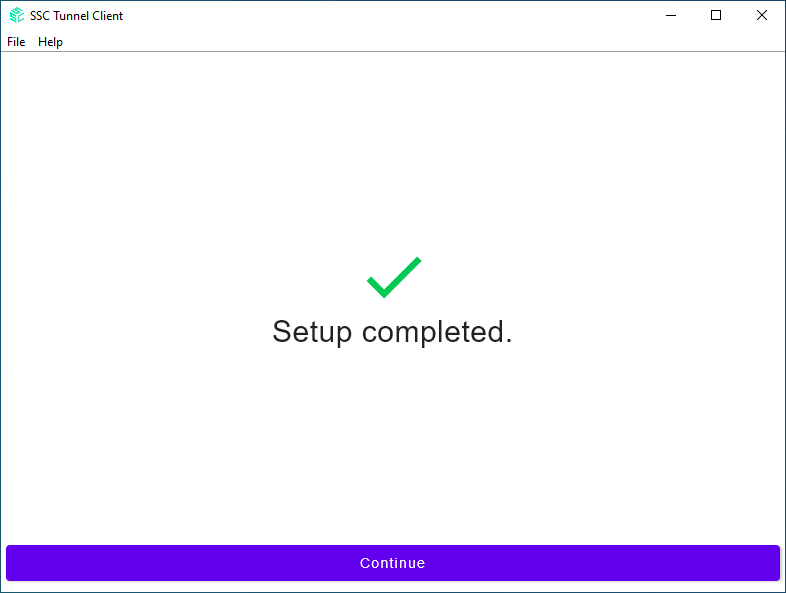
If you have administrative privileges:
- Right-click on tunnel-client.exe and select Run as administrator.
This will ensure that the SSC client has the necessary permissions to operate optimally.
After starting the unpacked executable with administrative rights you will see this screen confirming the successful setup:
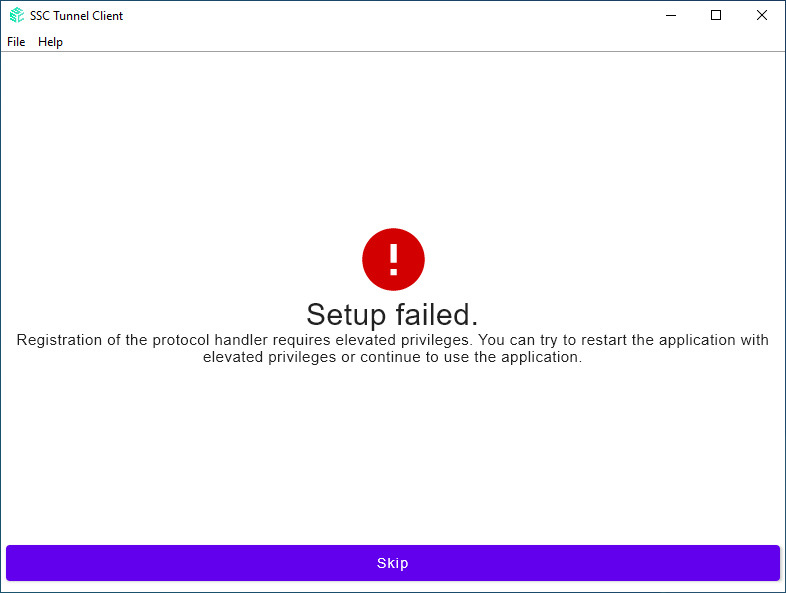
If you do not have administrative privileges:
- Double-click tunnel-client.exe to run it normally.
Upon starting, you will see an error message because of the lack of administrative rights. You can ignore this message by pressing the Skip button:
Related content
SSC Client Download
SSC Client Download
More like this
Opening a Tunnel Connection using the SSC Client
Opening a Tunnel Connection using the SSC Client
More like this
App: SSC Data Link Tunnel Extension
App: SSC Data Link Tunnel Extension
More like this
Platform Documentation
Platform Documentation
Read with this
Operator - Applications
Operator - Applications
Read with this
Operator - Assets
Operator - Assets
Read with this